This guide showcases a spellcasting build for Clerics using the Light Domain. It provides strong offensive capabilities, excellent defense for your party and a lot of nice utility spells on top.
The sections below will cover how to best progress a Light Domain Cleric through the levels, as well as what equipment to get, how to create your character and how to use it properly in combat.
Summary
The Light Domain, along with the Tempest Domain, is one of the best offensive domains you can use when building a Cleric. You gain several offensive spells normally reserved for Wizard and Sorcerer, like Scorching Ray,  Fireball and
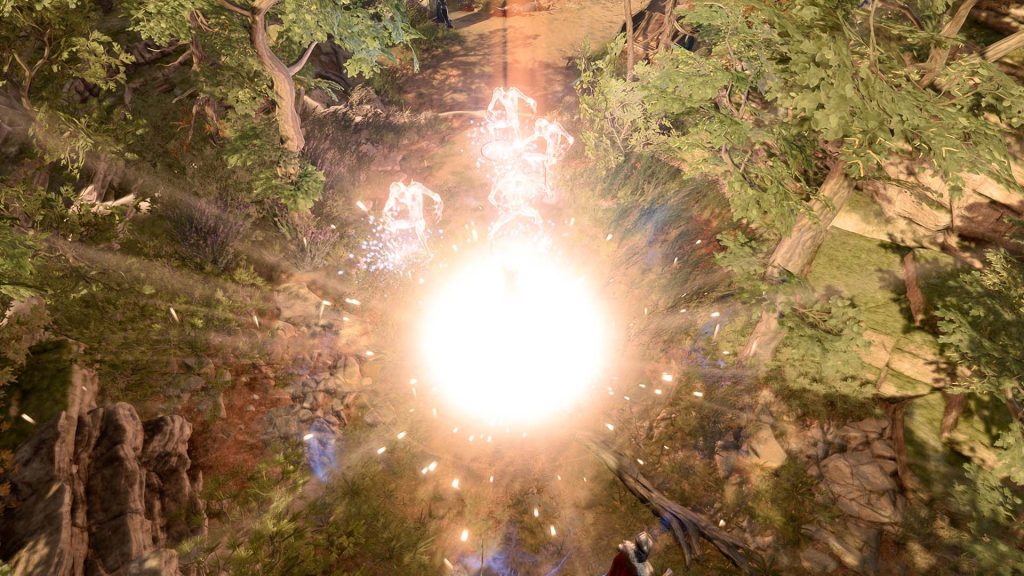
  Wall of Fire. Its Channel Divinity Action is Radiance of the Dawn, which is a huge and very potent AoE spell.
Using Radiance of the Dawn and  Spirit Guardians together with Radiating Orb effects will turn your Cleric into a debuff machine. This interaction together with Improved Warding Flare will make sure your party members will never even get hit in the first place. You will also get access to several powerful summons, aiding you in battle.
Character Creation
For Ability Scores, Wisdom is your primary ability, so you’ll want to have 17 there. After that comes Constitution for survivability and Concentration saving throws. Choose only 15 here, since you will increase it to 16 later with the Resilient feat. Getting 14  Dexterity for the maximum Medium Armor bonus is also a good idea. The rest of your ability points can be allocated as wanted. However, it makes sense to increase
  Charisma at least to 10, since there are quite a few Charisma-based saving throws.
Race, background and skills don’t matter for this build, but a fitting thematic choice would be the 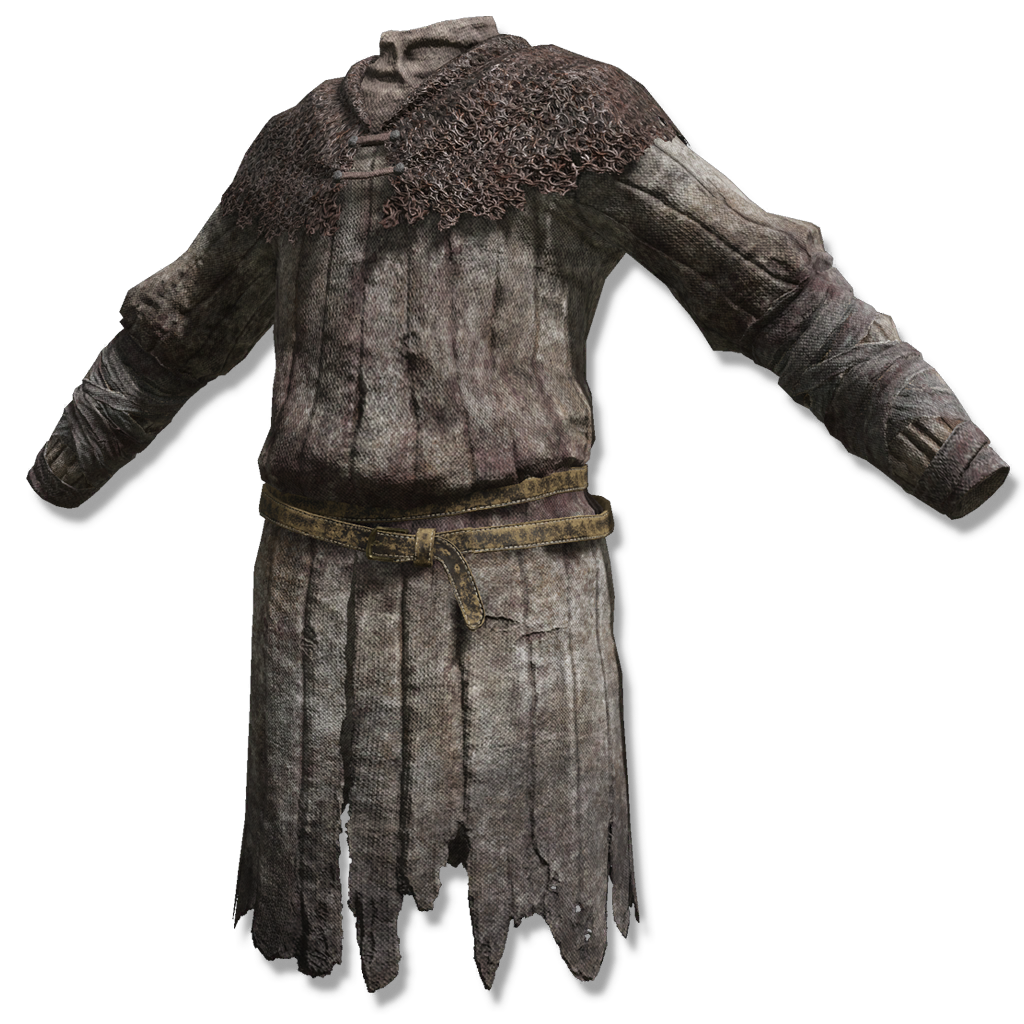 Acolyte background with any race and one of the Light associated deities like Lathander or Helm, or a Drow with Eilistraee as your chosen deity.
To see what spells you’ll want to pick during Character Creation, see the following section.
Spells and Feats
Spells
Below are some lists giving you recommendations on what to pick for each spell level.
Cantrips
Level 1 Spells
- Bless buffs the saving throws and attack rolls of your entire party. It’s a great spell and what you will be mainly spending your Concentration on in the early game.
- Healing Word is another must-have, giving you a healing spell as a bonus action.
- Sanctuary makes an ally immune until they attack. It uses a bonus action, so it’s a great cast if an ally has just made an attack and is expected to take a lot of damage on the next turn.
 Inflict Wounds is a very solid and straightforward damage spell in melee range.
 Guiding Bolt deals solid damage and gives Advantage to the next attack roll against the target.
Level 2 Spells
 Aid is a great permanent buff to the hit points of your entire party.
- Spiritual Weapon is a great way to spend your bonus action. It summons a floating weapon you can attack with. You can specify what weapon you want to summon to avoid enemy resistances.
 Hold Person is a very solid control spell.
 Lesser Restoration and
  Enhance Ability both have situational uses, making it occasionally worthwhile to prepare these spells.
Level 3 Spells
- Spirit Guardians is your bread and butter spell and what you will be primarily spending your Concentration on from Level 5 and up. This spell has great upcasting, so it scales well into the late game.
- Glyph of Warding is quite strong and very versatile, making it a good choice.
- Mass Healing Word,
 Revivify and
  Remove Curse are more support-oriented picks you can make.
Level 4 Spells
This level doesn’t have a lot of choices, as you get  Guardian of Faith from the Light Domain. Banishment and Death Ward both have their uses, if you want to prepare one of those.
Level 5 Spells
Level 6 Spells
Divine Intervention
At Level 10 you gain Divine Intervention, which is a spell with several variants you can only cast once per character.
- If you don’t have The Blood of Lathander, the Arm Thy Servant variation gives you a strong legendary mace.
- Sunder the Heretical and Opulent Revival are both solid options for the final battle, especially on Tactician where you don’t get the Restoration Pod.
Feats
Unlike many martial classes, there are quite a few interesting feats outside of  Ability Improvement for a Light Domain Cleric. Here is an overview of what to pick for your feats at Level 4, 8 and 12:
- Level 4: Ability Improvement. Use it together with Auntie Ethel’s Hair to bring your Wisdom to 20. If you’re giving the Hair to another character, you will want to respec your Wisdom to 16 and use two Ability Improvements to bring it up to 20.
- Level 8: Resilient (Constitution). This gives you saving throw proficiencies for Constitution, making it a very good feat for maintaining Concentration. It’s also a half feat, meaning it will increase your Constitution by +1, which is why we only set it to 15 during character creation.
- Level 12:
 Alert. This gives you +5 Initiative and makes you immune to being surprised. A very strong feat in the game, since initiative is only rolled with a d4.
 - Often you’ll see
 War Caster being recommended for Clerics, because it gives you Advantage on saving throws to maintain concentration. While it’s a very strong feat, there are multiple pieces of equipment that also provide this effect, as outlined in the Equipment section below.
Equipment
You will want to both prioritize gear with Radiant Orb effects, as well as anything that gives you Advantage on Constitution saving throws, which is mainly found in Act 2. You don’t have to wear all of the Radiant Orb gear, especially as you get more powerful options later on, but keep at least the two rings on.
Act 1
Weapons
- Blood Of Lathander
- A legendary +3 mace that will likely last you the entire game. It blinds fiends and undead in your proximity.
- Additionally, you also get the
 Sunbeam spell once per Long Rest, and a one-time heal when being reduced to 0 hit points.
 - You get it after completing the “Find the Blood of Lathander” questline in Crèche Y’llek.
Armor
- Luminous Armour
- This +1 medium armor will affect anyone in your vicinity with Radiant Orbs when dealing radiant damage.
- You find it in a trapped Opulent Chest in the Selûnite Outpost in the Underdark.
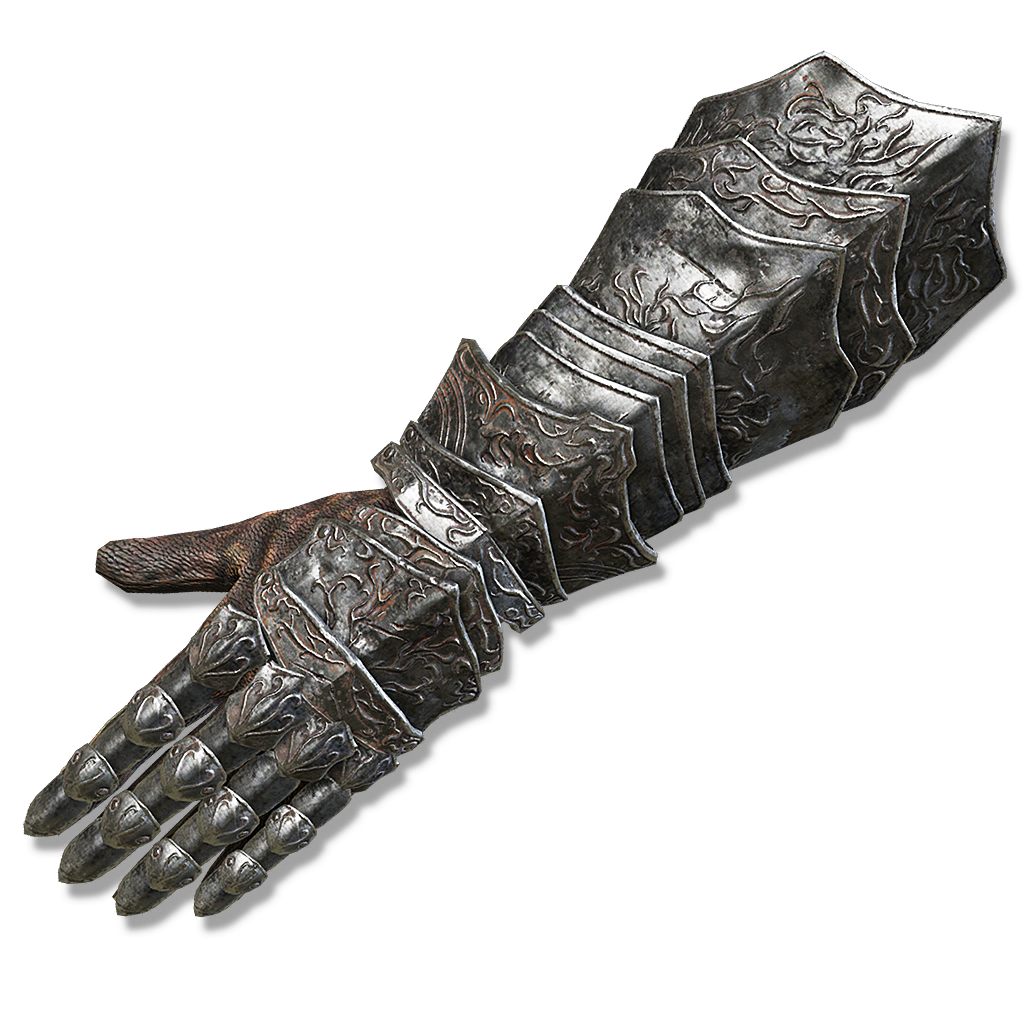
- Gloves of Belligerent Skies
- These gloves will apply 2 turns of Reverberation every time you deal radiant, thunder or lightning damage.
- You can find them in a chest in the Inquisitor’s Chamber in Crèche Y’llek.
- Holy Lance Helm
- This helmet deals 1d4 radiant damage to anyone who misses an attack against you, pairing it nicely with your
 Warding Flare and the Radiant Orb items. Also gives +1 to Constitution saving throws.
 - Found in a chest in Rosymorn Monastery (X: 120, Y: 35).
- Boots of Stormy Clamour
- These boots apply 2 turns of Reverberation everytime you inflict a condition (like Radiant Orbs).
- They are sold by Omeluum in the Underdark after you help him investigate your parasite.
Accessories
- Amulet of Misty Step
- This amulet grants you
 Misty Step, which is a great spell to get into position to cast Radiance of the Dawn or Spirit Guardians.
 - It can be found in a chest in the Goblin Temple, guarded by the priestess’ bodyguard, Polma.
Act 2
Armor
- Barkskin Armour
- This medium armor isn’t the best, but probably the earliest you can get Advantage on Constitution saving throws.
- It’s sold by Quartermaster Talli at the Last Light Inn.
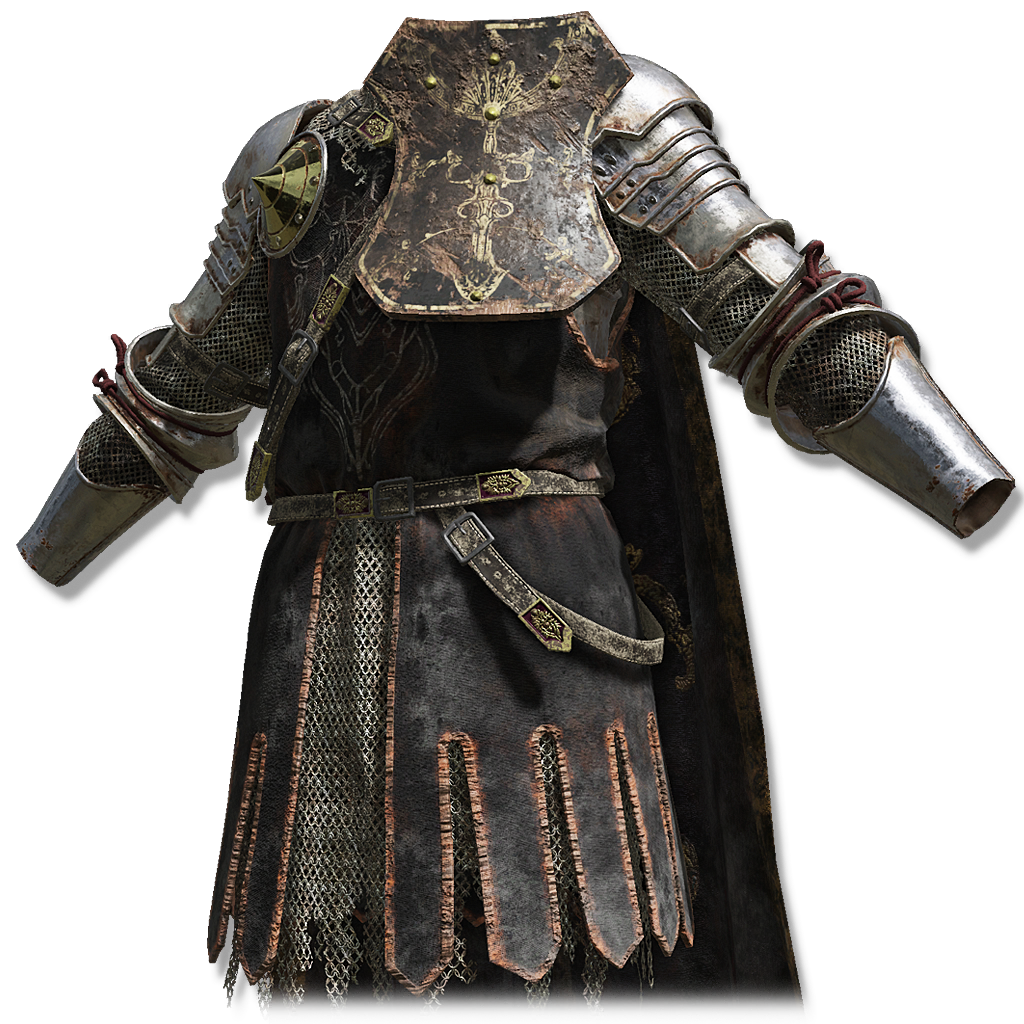
- Dark Justiciar Half-Plate (Very Rare)
- This medium armor has a great AC, gives you Advantage on Constitution saving throws and on Stealth checks if obscured.
- It also provides Shar’s Aegis, which is a
 Shield of Faith-like spell.
 - While under the effect of Shar’s Aegis or Shield of Faith, it also reduces all damage by 2 and deals 1d4 necrotic damage to any attacker.
- You will get it if you decide to kill the Nightsong.
- Dark Justiciar Half-Plate (Rare)
- If you don’t want to kill the Nightsong, this is a weaker version of the Very Rare Half-Plate, but still provides you with Advantage on Constitution saving throws.
- You get it from the Gauntlet of Shar, lying next to the Spear of Night altar.
- Luminous Gloves
- These gloves give you +1 on Strength saving throws and apply Radiating Orb to your target whenever you deal radiant damage.
- They are found in the Potter’s Chest in the Ruined Battlefield (X: -52, Y: 11).
- Dark Justiciar Helmet
- A helmet that gives you +1 to Constitution saving throws, and saving throws against spells. It also increases the chance to do a Critical Hit if you’re obscured.
- Can be found in a chest inside the Gauntlet of Shar (X: -822, Y: -753).
- Ketheric’s Shield
- A +2 shield that gives you +1 on your spell save DC and your spell attack rolls.
- You also gain Advantage on Dexterity saving throws.
- Dropped by Ketheric Thorm at the end of Act 2.
Accessories
- Coruscation Ring
- This ring will apply Radiating Orb whenever you deal any kind of damage while being illuminated by light.
- You find it in a trapped chest in the cellar of the Last Light Inn.
- Callous Glow Ring
- A ring that lets you deal 2 additional radiant damage against any illuminated targets (read: Enemies afflicted with Radiating Orbs).
- You find it in a chest in Balthazar’s vault room inside the Gauntlet of Shar (X: -821, Y: -752).
Act 3
- Helm of Balduran
- A legendary helmet that heals you every round and gives you +1 to AC and all saving throws.
- Additionally, you can’t be stunned and enemies can’t land critical hits on you.
- You find it after defeating Ansur in the Wyrmway Trials on the altar behind him.
- Viconia’s Walking Fortress
- A legendary shield that gives you Advantage on saving throws against spells and Disadvantage on enemy spell attack rolls.
- You also gain the Reflective Shell and Warding Bond spells.
- This is looted from Viconia DeVir in the House of Grief.
Strategy & Tactics
Early Game
In the early game, you won’t have a ton of options. In general, you’ll want to spend your Concentration on Bless at the start of combat. Use Radiance of the Dawn frequently. It resets on a Short Rest.
Use Guiding Bolt and Inflict Wounds for offensive options. Pick up downed party members with Healing Words or try to protect them with Sanctuary. Summon your Spiritual Weapon in longer fights.
Don’t forget to cast Aid after every Long Rest. Also remember to put your Attack of Opportunity on Ask, so you can decide if it would be better to hold your reaction for Warding Flare.
Mid Game
Positioning gets more important as soon as you get some of the Radiant Orb items and Spirit Guardians. Starting from Level 5 you will want to always spend your Concentration on Spirit Guardians and pair it with Radiance of the Dawn at the start of combat to apply tons of Radiant Orbs.
Blast enemies with Fireballs and Flame Strikes. Support your allies through Improved Warding Flare and control the environment with Wall of Fire. Consider summoning Guardian of Faith and Spiritual Weapons, or using some more control-oriented options like Hold Person and Banishment for harder fights.
As a Cleric you are also the king or queen of Act 2, even more so with your abundant radiant damage as Light Domain, and Radiant Orbs illuminating enemies. Use Turn Undead often and frequently against undead enemies.
Late Game
The late game plan is mostly the same as for the mid game, just that you will have more powerful spells and summons like Planar Ally. Don’t forget to cast  Heroes’ Feast after every long rest!
Multiclassing
As a Light Cleric you will want to mainly stay in the Cleric class, since you gain a lot of very strong spells in your later levels. However, what you can consider is doing a 1 Level Wizard dip at some point. Wizard is an  Intelligence-based spellcasting class, but there are a ton of great Level 1 spells that don’t require a lot of Intelligence to be effective (
 Shield,
  Feather Fall and
  Longstrider to name a few). You also can learn spells from any scroll you find for some gold, which can really open up your options.