INFLUX: Construction Mission Walkthrough – ICARUS

In the INFLUX mission, you’ll be preparing a small barracks in the Arctic for the Uniao faction. In this guide, we’ll go over all the required elements, and then give some specific advice on completing the mission.


Prospect Details

  • Difficulty: East (icon skullicon skull darkicon skull darkicon skull dark) – Mission is insured
  • Approximate Time to Complete: 1-2 hours
  • Recommended Level: 10 – You’ll need to be at least level 10 to complete this mission, since its objectives includes crafting Tier 2 deployables
  • Locations: Forest Biome, Arctic Biome
  • Objectives:
    • Reach marked location
    • Set up Barracks
      • 6 Warm + Sheltered Bedrolls
      • Pot Belly Stove
      • Cooking Station
      • Oxidizer

Rewards

  • icon rencurrency 275

Variants Modifiers

  • Creature melee damage: -50%
  • Creature health: -50%
  • Creature movement speed: -10%
  • Bear spawn rate: -50%
  • Lion spawn rate: -10%
  • Polar bear spawn rate: -50%
  • Wolf spawn rate: -10%
  • Aggressive creatures perception: -50%
  • Neutral creatures perception: -50%
  • Passive creatures perception: -50%
  • Experience gain: -25%
  • Creature melee damage: +20%
  • Creature health: +30%
  • Creature movement speed: +10%
  • Aggressive creatures perception: +30%
  • Neutral creatures perception: +30%
  • Passive creatures perception: +30%
  • Scorpion spawn rate: +30%
  • Lion spawn rate: +30%
  • Wolf spawn rate: +30%
  • Experience gain: +25%
  • Player respawn count: 3

Prospect Notes

Your objective for INFLUX is to set up a few sheltered Tier 2 deployables and some Bedrolls at a specified location. This mission is easy, includes drop insurance, and shouldn’t take more than a couple of hours.

hunting influx icarus mission walkthrough
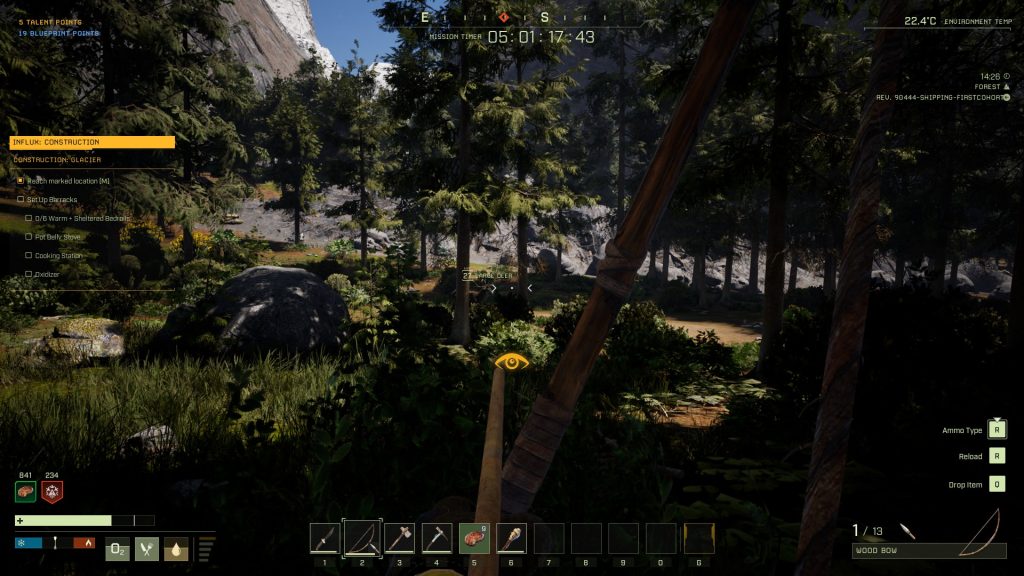
The most time-consuming part of the mission will likely be all the hunting you’ll have to do
mission objectives map influx icarus walkthrough guide
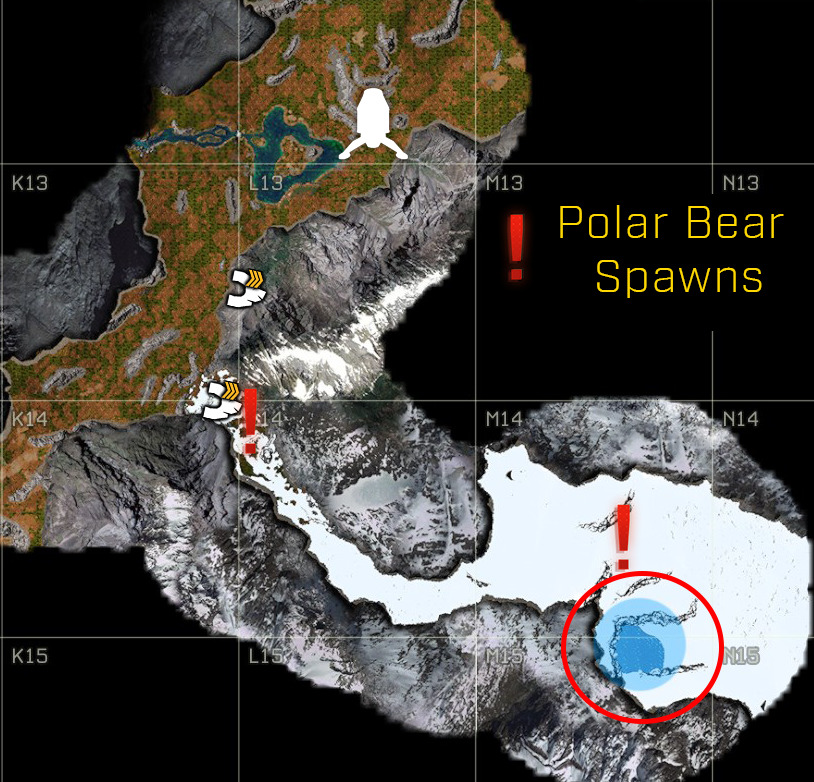
The build location is circled red, and the two most convenient caves for mining are pictured. The exclamation marks indicate known Polar Bear spawns.

You should be able to hunt and mine all the resources you need in the area in between where you drop and the build site. Hunt a few animals, mine out a cave, then go back to hunting. Repeat until you’ve got everything you need!

Preparing for INFLUX

You’ll need to unlock the following blueprints to complete the mission:

As always, bringing Orbital gear will speed things up significantly. A knife, pickaxe, and the MXC Furnace are probably the most useful items to take with you on your drop.

These guys can be a piece of cake, or a serious pain, depending on how you handle them. The trick is to move slowly into a cave so that only one or two pop up at a time. When they do, if they’re close, simply sprint up to them and knife them in the mouth. If they’re far away, quickly shoot two arrows at their mouth. If you’re fast, you can kill them before they get a chance to attack.

cave worms avalanche walkthrough
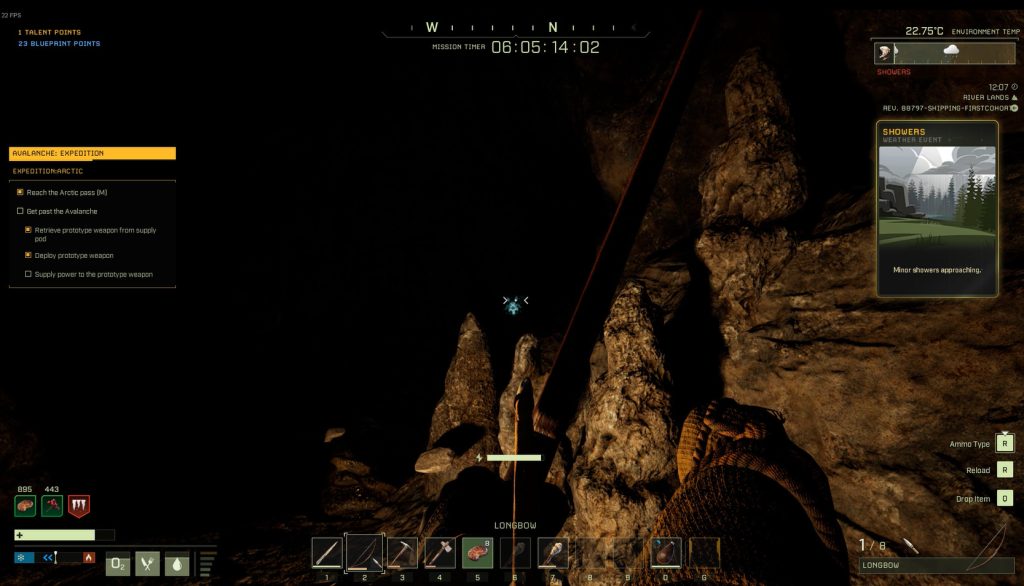
You don’t need a light source to see the cave worms, since their mouths glow in the dark

If you don’t notice them pop up and either hear them spit, or start taking damage, run back the way you came, then slowly move back towards them to find them. You can dodge the poison if you’re very fast and move perpendicular, but this is hard to do in a cave. It’s a good idea to have a stack of Cooked Meat when you enter caves, just in case you screw up and need to heal.

Mission Walkthrough

Step 1: Teching to Tier 2 & Crafting Deployables

You’ll land in the Forest, surprisingly close to your objective in the Arctic. However, you’ve got a few things to do before you venture into the snow. Start by crafting a bow and some arrows, and hunt every animal you see. Don’t stop killing creatures until you’ve collected the following resources:

Note that this includes the 20 Leather you need for the Crafting Bench.

At some point, you’ll want to head into the cave at the K-13/L-13 border. There are a few worms in here, so be prepared. This is also a decent place to put your Crafting Bench — you can then craft your Stone Furnace if you didn’t bring a furnace with you; place it in this cave as well. You’ll need to smelt 44 Iron Ingots, which means mining 88 Iron Ore. You’ll also need just 6 Copper Ingots (requiring 12 Copper Ore). Unless you get extremely unlucky, you should be able to find all the ore you need in this first cave, but if you somehow don’t, there’s another cave in the bottom right of K-13 (see map above).

Between your hunting and mining, you should quickly collect the resources required for everything you need to place in the barracks. Craft the following deployables as soon as you’re able to:

Step 2: Into the Arctic

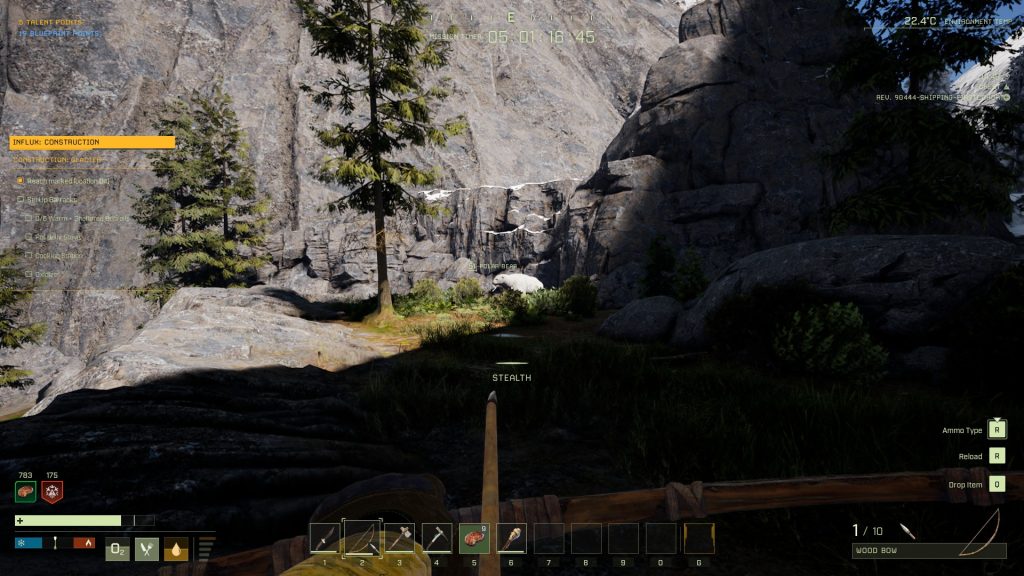
Once you’ve crafted all 3 deployables and all 6 bedrolls, craft 8 Wood Floor pieces and 8 Wood Walls, then take these, your Campfire, a Repair Hammer, and the aforementioned items into the Arctic. You’ll need to reach the blue circle in M-14/15, which thankfully is a short hike away — you can get there via the pass in the bottom right of K-13. As you climb the winding hill that leads into the Arctic, sneak around corners and watch for the Polar Bear that hangs out in this area; he’s easy to miss behind all the bushes and rocks.

sneaky polar bear influx icarus mission walkthrough
Since it’ll be uphill of you, this big bear can be hard to spot at first

Continue southeast through the pass, keeping an eye out for any stray bears. If a storm comes, create a 1×1 wooden box and hide in it until the storm passes. Make your way to the blue circle on the map and then start setting up: place a 2×2 floor, then put the 8 walls around the base. Don’t place the ceiling yet — instead, place the Potbelly Stove in one corner first; once it’s down, you can place the roof over it, then complete the roof with the rest of your Wood Floor pieces.

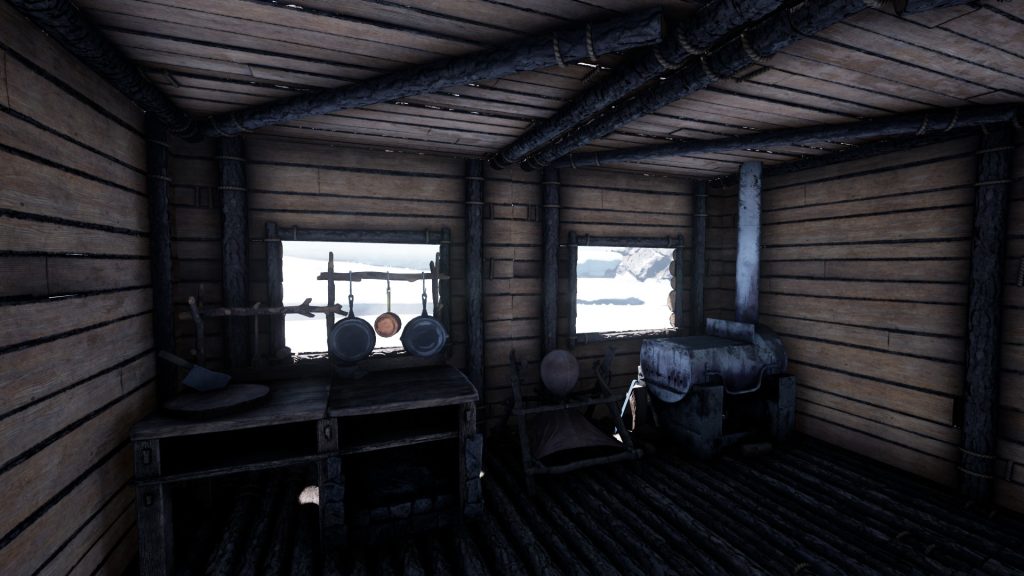
Then place the 6 Bedrolls, Oxidizer and Cooking Station. Currently, the Bedrolls don’t seem to actually require heating, but you can simply turn on the Potbelly Stove if the Bedroll part of the objective doesn’t complete once you set them all down. Once you’ve placed everything, you should see that all of your mission objectives are completed, and you can head back to your dropship.


We hope this guide for INFLUX was helpful! Feel free to leave questions or suggestions (or thoughts on the moral implications of colonizing other planets) in the comments below.

Share this guide:
DanielD
DanielD

Unabashed FromSoftware fanboy still learning to take his time with games (and everything else, really). The time he doesn't spend on games is spent on music, books, or occasionally going outside.

Articles: 1679

Leave a Reply

Your email address will not be published. Required fields are marked *