ZEPHYR: Expedition Mission Walkthrough – ICARUS

Apparently, Icarus grows worms in all sizes and biomes! ZEPHYR introduces a new Giant Worm beast to the Styx map, and you engage a whole swarm of them in this expedition, in a boss fight similar to CRYOGENIC: Research. Along with Ren and Exotics, your reward is unlocking the Ring Lake region for future missions. Optionally, you can also find and mine two exotics veins on this prospect.

Objectives and Tips

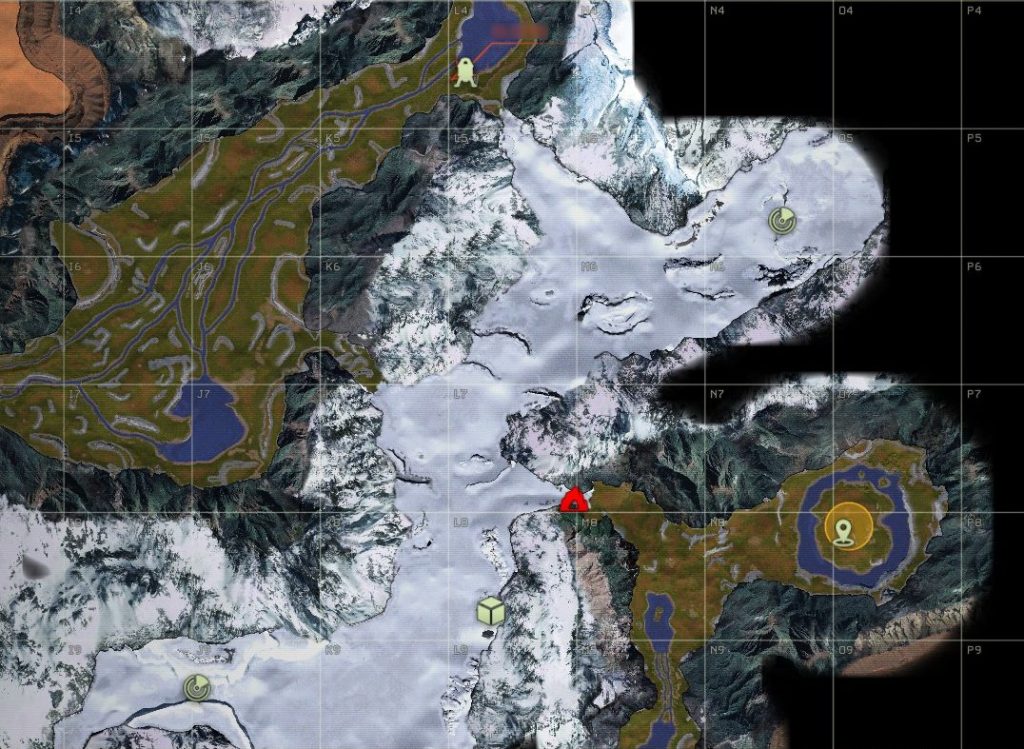
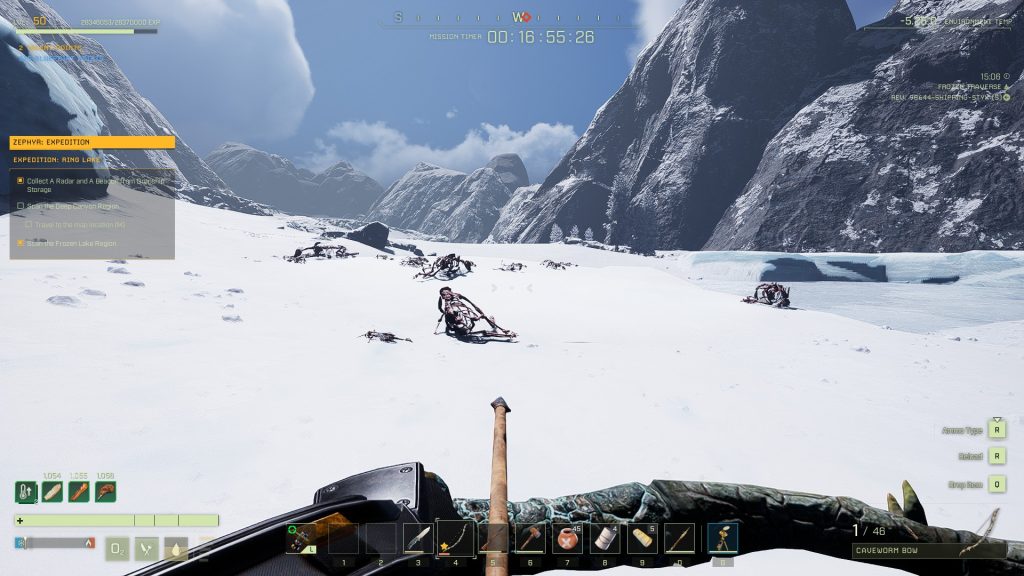
ZEPHYR takes place primarily in the Frozen Traverse region of the Arctic Biome. It is an Expedition mission like CRYOGENIC: Research, with an introductory Scan component like in MAELSTROM, and it concludes in the Ring Lake region with a Survey adventure like in OMPHALOS.

icarus zephyr expedition mission walkthrough map objectives

The most convenient place for a base in terms of access and resources is around J6 in the Great River region, just west of the central entrance to the Frozen Traverse. One way or another, you are grinding up to Tier 4. Check out the rest of this guide for tips on equipment you might need.

Scan the Frozen Traverse

Once you have set up your base and are satisfied with your equipment, pick up the Radar scanner from your Dropship if you haven’t already. There are two scanning sites that should now be marked on your map. To defend the Radar you will have to defeat several waves of wolves and polar bears.

icarus zephyr expedition mission walkthrough north scan location killing field
At the northern scan location, the cliff along the frozen lake on the right will block most attackers while you focus on the enemies coming over the hill ahead

There is enough time for four full waves, each started by a few wolves that attack one at a time, and concluded by a team attack from a wolf and a polar bear. If you bring a good skinning knife, invest in skinning talents, and save your Polar Bear Pelt, you may have enough by the end of these fights to craft a full set of Polar Bear Armor.

Watch out for the final wave of attacks at the southern location. While most of the attacks come from the East, the final polar bear might approach from the West and attack from behind, without warning.

It is best to set your spawn location back at your main base in case your whole team becomes unconscious during one of the fights. If that happens, the remaining enemies will destroy your radar, and you will have to pick up another one at your Dropship to complete the scan.

Recover the Vapor Laser

Once you have completed both scans, the location of the Weak Wall — the entrance to the Ring Lake region — will show up on your map. Go to the Weak Wall and you will be told that the equipment to make an opening has been dropped in a Supply Pod to the South. Find the location on your map and recover the Vapor Laser. It is carried in your regular inventory, not on your back.

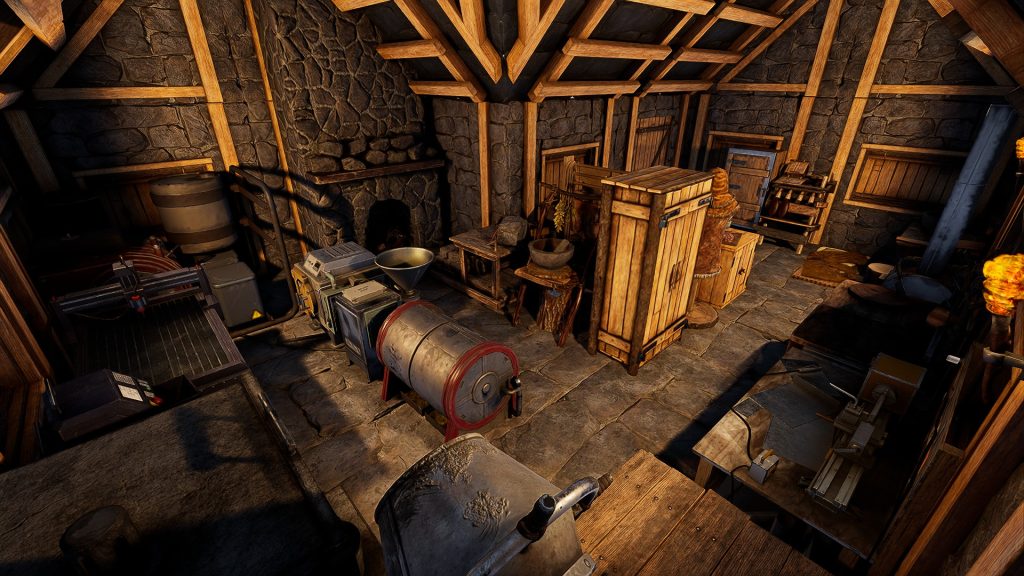
icarus zephyr expedition mission walkthrough base interior tier 4
It will take Tier 4 workstations and equipment to power the Vapor Laser — give your base enough space to be comfortable

Power the Vapor Laser

To power the laser you will need to, at the least, construct a Fabricator at your base.

Bring the above items and the Vapor Laser to the Weak Wall and place the laser in the hologram in front of the wall. Before you leave for the wall, retrieve a Beacon from the Dropship and bring it with you.

Set up the power source (in its shelter or in the sun, depending on the type) and wire it to the Vapor Laser using the Electricity Tool. It might seem too far, but consider placing the power source atop the rock pile to the West and along the north wall. Fuel the power source and turn it on, if necessary.

Break Through the Weak Wall

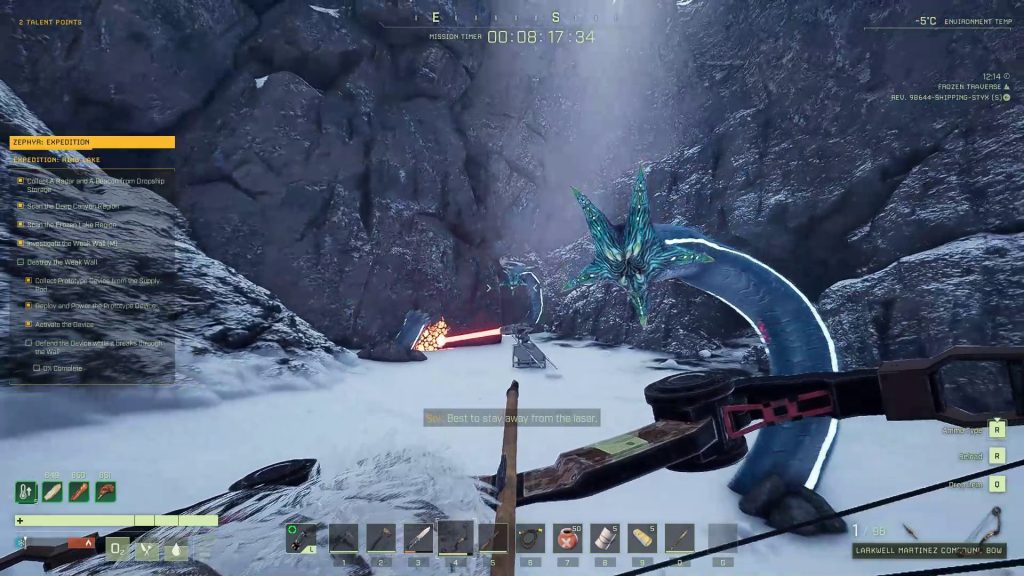
Get ready for the boss fight and return to the Vapor Laser. As soon as you activate it and it starts breaking through the wall, the rumbling will draw Giant Worms from up to half-a-dozen spawn locations near the laser. If bad weather approaches, leave temporarily until it calms down: a blizzard at its full strength will drain your health fast.

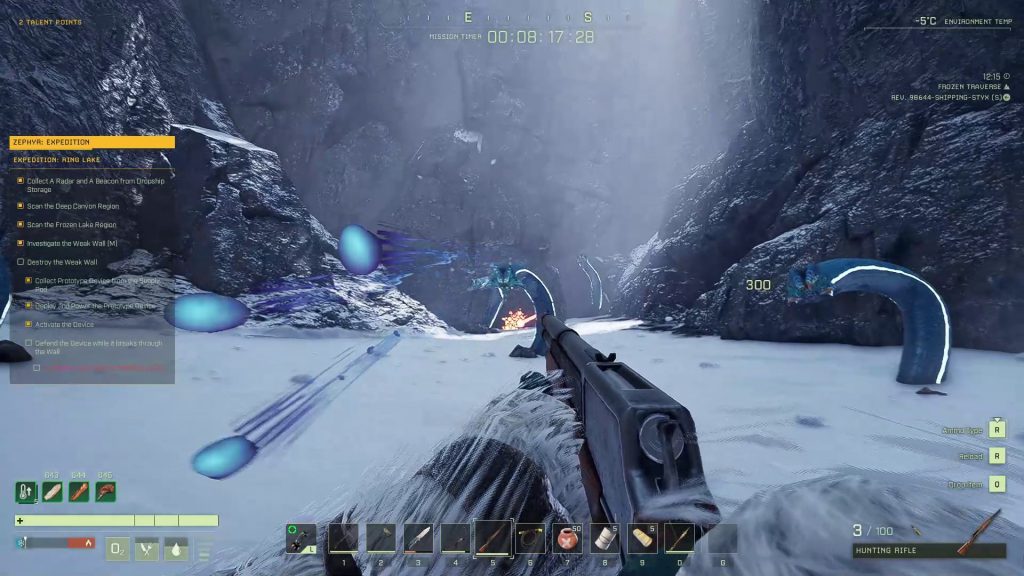
icarus zephyr expedition mission walkthrough worm boss blue projectile attack
With so many worms firing off poison attacks, it is worth it to build a Kitchen Bench and craft some Anti-Poison Pills

There is an infinite supply of Giant Worms, and you will have to kill them quickly to keep them from attacking you. They do not drop scales, only caveworm loot, once they are killed. As with the Sandworm, their weak spot is their open mouth, and they shield it by closing their mouths.

Like with the mission CRYOGENIC, Giant Worms will only spawn in locations near you. If you stand near the Vapor Laser along the southern rock face, you can limit the number of active Giant Worm spawns to three. With a strong enough projectile weapon, like the Hunting Rifle, you can dispatch each Giant Worm with a single critical hit to the mouth. The best time to strike is shortly after it spawns, when the Giant Worm opens its mouth to roar at you.

After 5 minutes, the Vapor Laser will succeed in cutting a passage through the Weak Wall. After this point, one Giant Worm will remain at every spawn position, regardless of whether that position was active when the wall was broken. Go around the area and clear out these stragglers.

icarus zephyr expedition mission walkthrough weak wall openned worm loot
At this point, you can either press on to complete the mission, or craft a lot of Caveworm gear from the 200+ kilograms of loot

Clear Out the Unusual Lake Formation

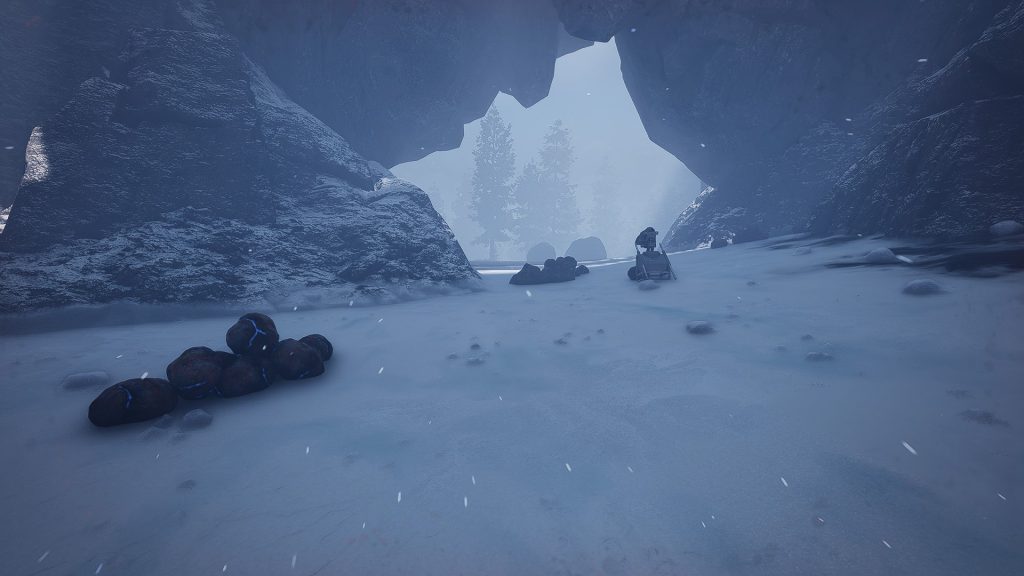
The final task is remarkably simple. Take the Beacon through the passage and through the Ring Lake region until you reach the center of the area marked on your map. Sol will task you with clearing 30 crocodiles from the area: they only spawn in the Ring Lake surrounding this area. If you are using a bow and want to conserve arrows, taunt each crocodile with a critical hit and draw it onto land before you kill it; then, retrieve any unbroken ammo.

Once you dispatch the crocodiles, you just need to set the Beacon down somewhere in the area marked on your map. This completes the Expedition and unlocks the Ring Lake region for future missions.


We hope you found this walkthrough helpful as you fight your way into the Ring Lake region. NOTE: This is a brief mission walkthrough, a new format we are testing. It lets us cut to the chase with tips and tricks, and allows us to cover the many ICARUS missions and updates as they come out. Let us know what you think about it in the comments below.

Share this guide:
SurvivalSherpa
SurvivalSherpa

SurvivalSherpa is an avid gamer spending most of his time at the nexus of the survival, crafting, building, and role playing genres on any platform, especially to test indie titles in EA. AFK, life is about work and education in STEM fields, reading fantasy, and sipping great coffee in the Pacific Northwest.

Articles: 62

Leave a Reply

Your email address will not be published. Required fields are marked *